

DTF (Direct To Film) printing is a process used in garment decoration, where the design is printed directly onto a special film that is then transferred onto the fabric.
This method differs greatly from screen printing because the image is not created with an emulsion stencil. When using the DTF printing process the image is created through a design software and then printed straight onto the film. The image transferring portion of the process is very similar to transferring plastisol transfers to a garment.
DTF Prints are full color transfers meaning you can transfer your print onto any color garment for an image that pops.
Here are step-by-step instructions on how to perform DTF printing:
Supplies Needed:
- DTF Printer
- DTF Film - available from Screen Print Direct
- DTF Powder - available from Screen Print Direct
- DTF Ink
- Computer
- Pretreated garment
- Heat Press
- RIP software
Step 1: Design Preparation Create or obtain the design you want to print. Ensure that the design is in a format compatible with your RIP software. The design should also be appropriately sized for the garment.
Step 2: Prepare the DTF Printer Load the DTF ink cartridges into the printer and install the DTF film. Make sure the printer is properly calibrated for DTF printing.
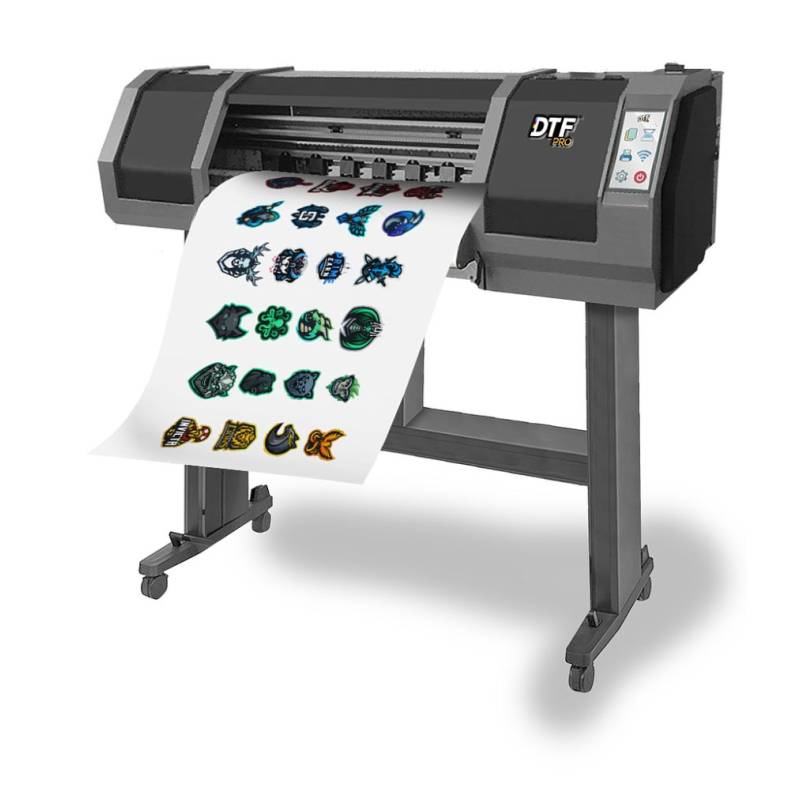
(Image above is an example of a DTF printer) photo credit: dtfpro.com
Step 3: Set Up the RIP Software Open the RIP (Raster Image Processor) software on your computer. Import the design into the software and adjust settings such as color, resolution, and print quality. Make sure the software is configured to work with your specific DTF printer model.
Step 4: Print the Design Send the design to the DTF printer through the RIP software. Ensure that the printer settings match the specifications for DTF printing. Once the design is printed onto the DTF film, carefully remove it from the printer.
Note: You must print with 100% white under any color, this should be a printing option on your RIP software.
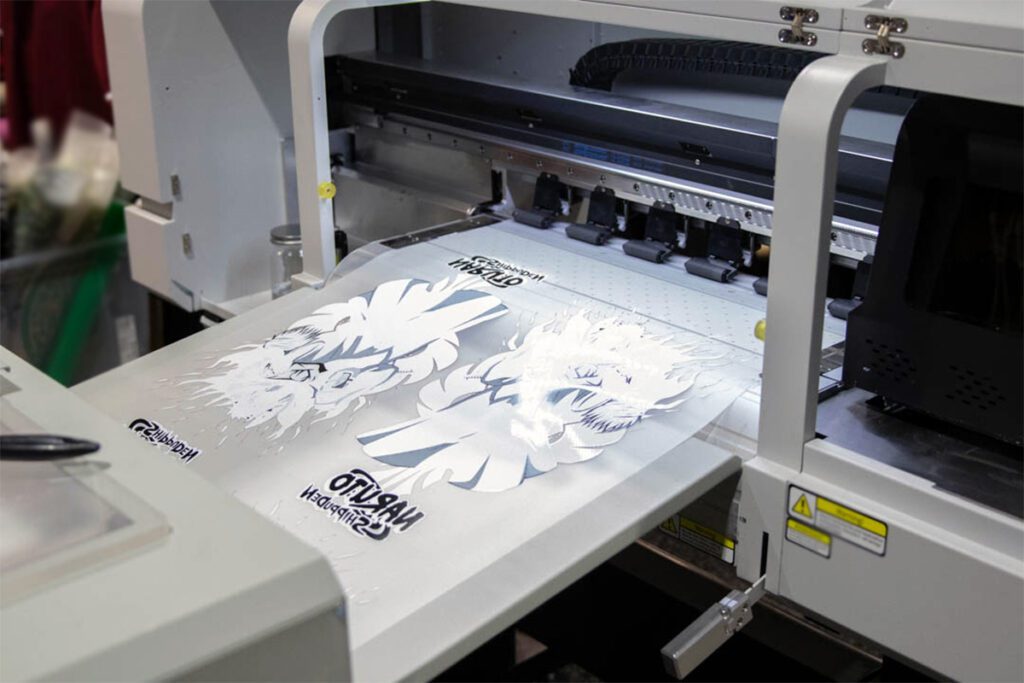
(Image above showcases white ink on the back of full color print) picture credit: deconetwork.com
Step 5: Cover Print with DTF Powder Once you have printed your deisgn you need to cover your print with DTF powder. White should be the last color printed onto your film, therefore you will cover the wet white ink with powder, make sure you cover the entire printed area.
Step 6: Melt the Powder Using a flash dryer, heat press or heat gun melt the powder into the ink. Please follow the recommended time and temperature settings from your DTF powder manufacturer.
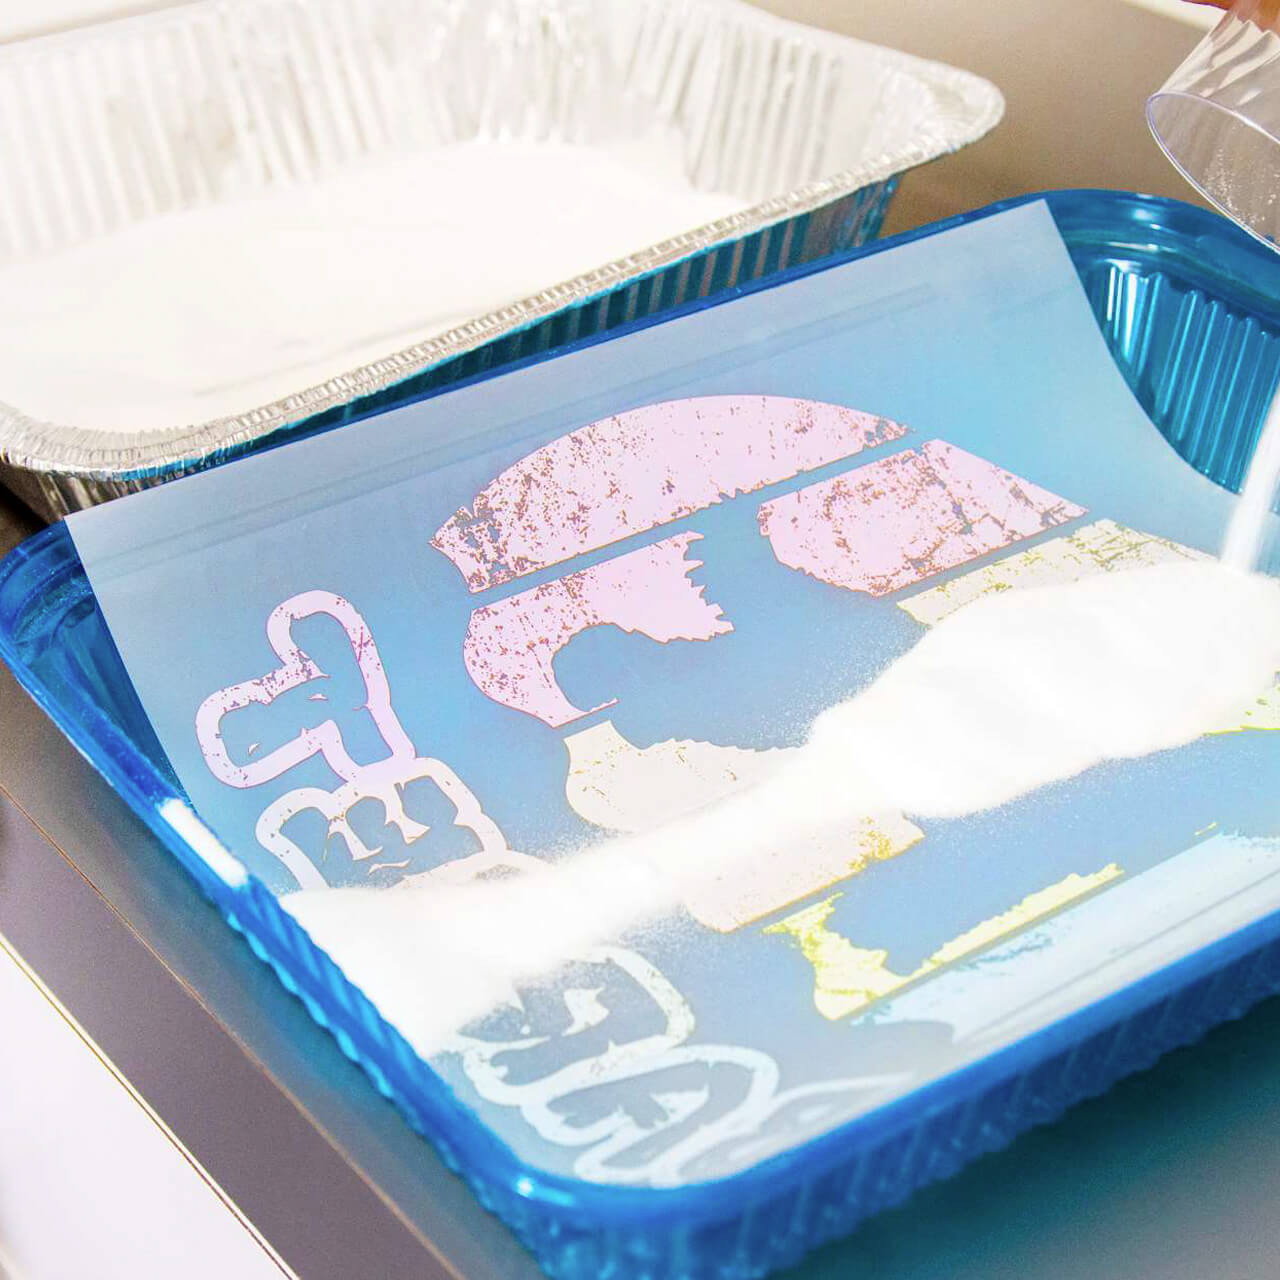
(Image above is printed film being covered with DTF powder) photo credit: uscutter.com
Step 7: Prepare the Garment Place the pretreated garment on the heat press. Ensure that the garment is flat and free of wrinkles. The DTF powder will help the ink adhere to the fabric.
Step 8: Transfer the Design Position the printed DTF film on the garment, ensuring proper alignment. Use heat-resistant tape to secure the film in place. Place the garment and film into the heat press, following the recommended time and temperature settings for your specific DTF ink and film.
Step 9: Heat Press Transfer Close the heat press and allow it to transfer the design onto the garment. The heat press activates the adhesive on the film, causing the design to adhere to the fabric. Follow the recommended time and temperature settings for your specific DTF ink and film.
Step 10: Peel and Finish After the transfer process is complete, carefully peel off the DTF film from the garment. The design should now be successfully transferred onto the fabric. Allow the garment to cool before handling or washing.

(Image above is the film being peeling away from the garment and transferring the image) photo credit: inkexperts.co.uk
Remember to follow the manufacturer's guidelines for your DTF printer, ink, and film, as specifications may vary between different brands and models. Additionally, always refer to the specific instructions provided with your heat press equipment.