Screen Printing 101 | Inks & Chemistry | Puff Printing
Puff ink gets a bad rap. New printers hear "it's finicky" and either avoid it altogether or burn through a dozen test shirts trying to figure out why their puff went flat. The truth is, puff printing isn't hard, it's just sensitive. Nail the ratio, the mesh, and the cure, and you'll get clean, raised prints every time.
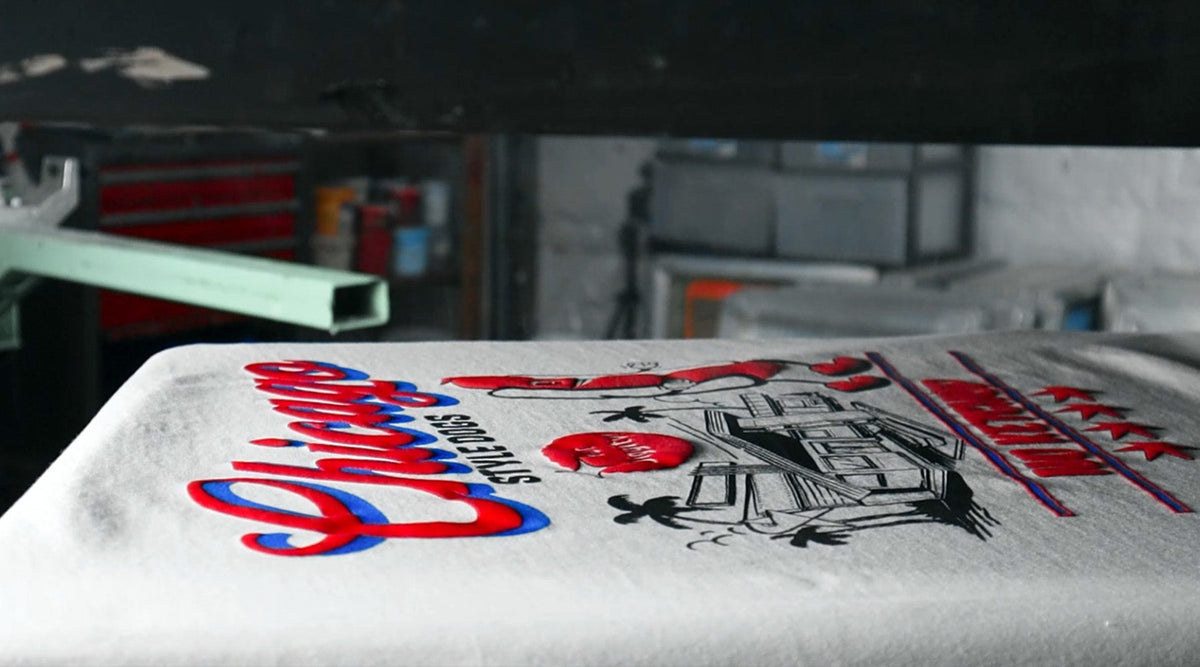
We brought in Ismael, also known as Mylo from Mylo Prints, to walk through a full 3-color puff print from start to finish, using Rapid Cure inks and our Rapid Cure Puff Additive. Here's everything he covered, plus the full video of Mylo in action at the end!
| MATERIALS | What You'll Need |
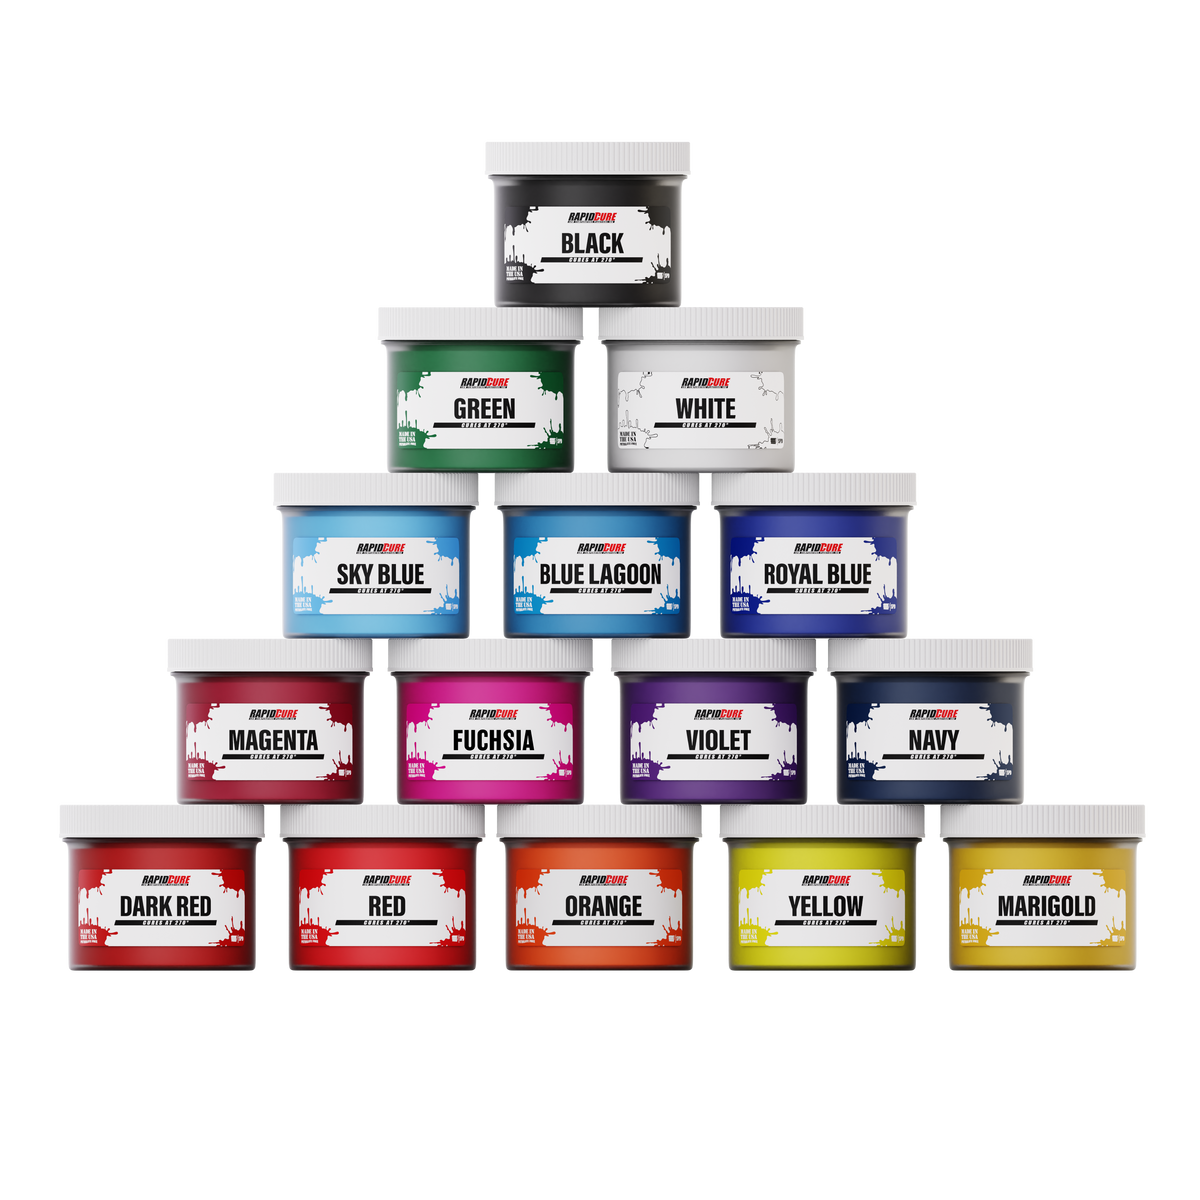
- Rapid Cure Plastisol Ink (Mylo used black, blue, and red)
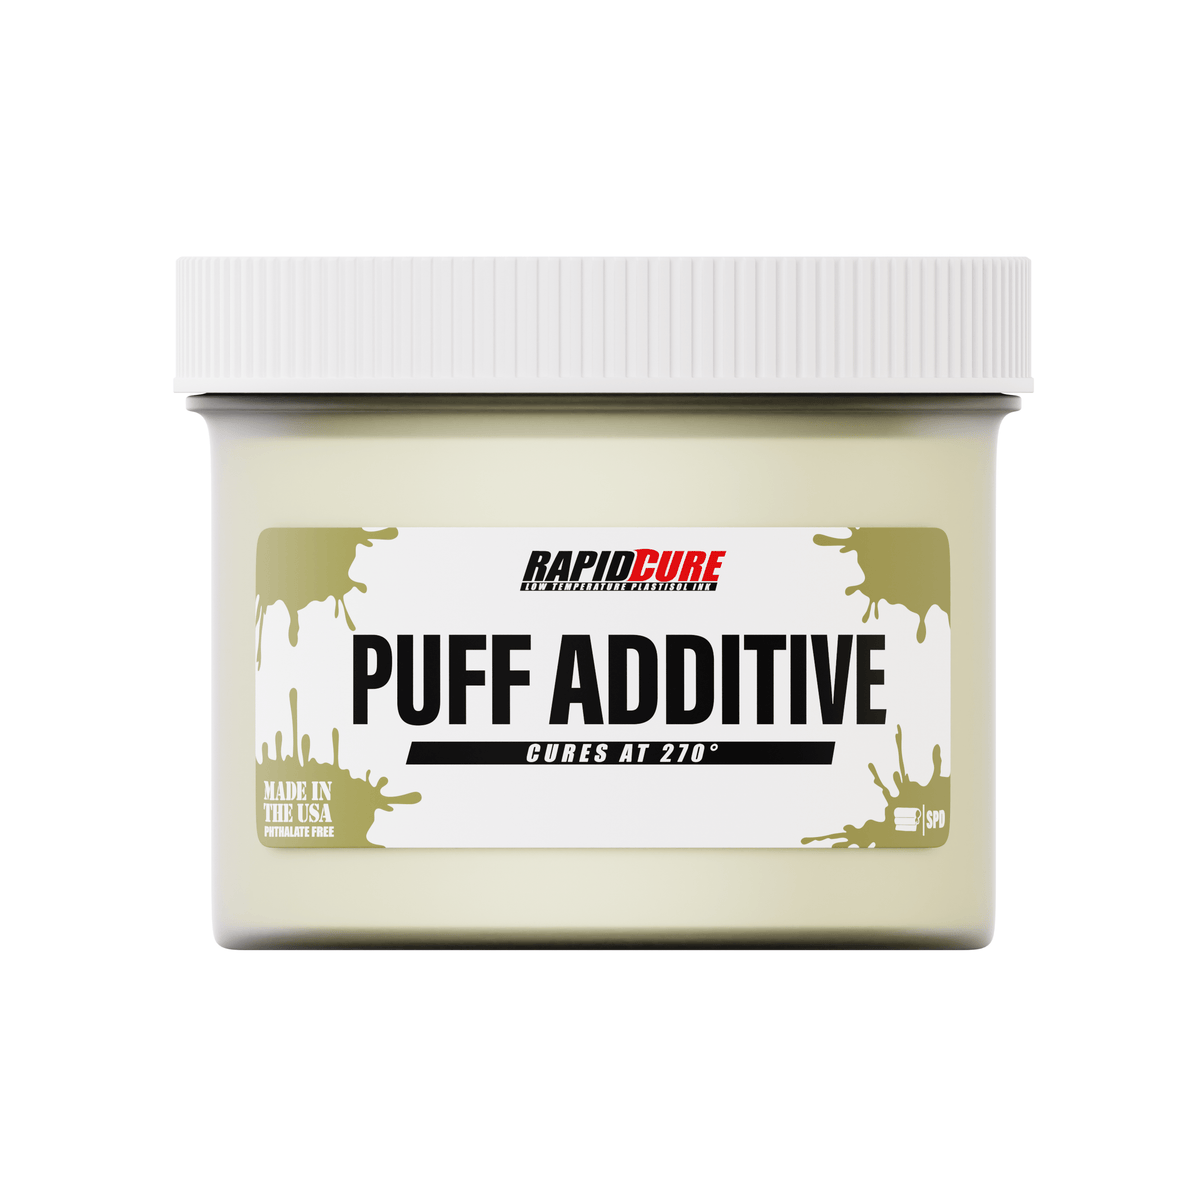
- Rapid Cure Puff Additive
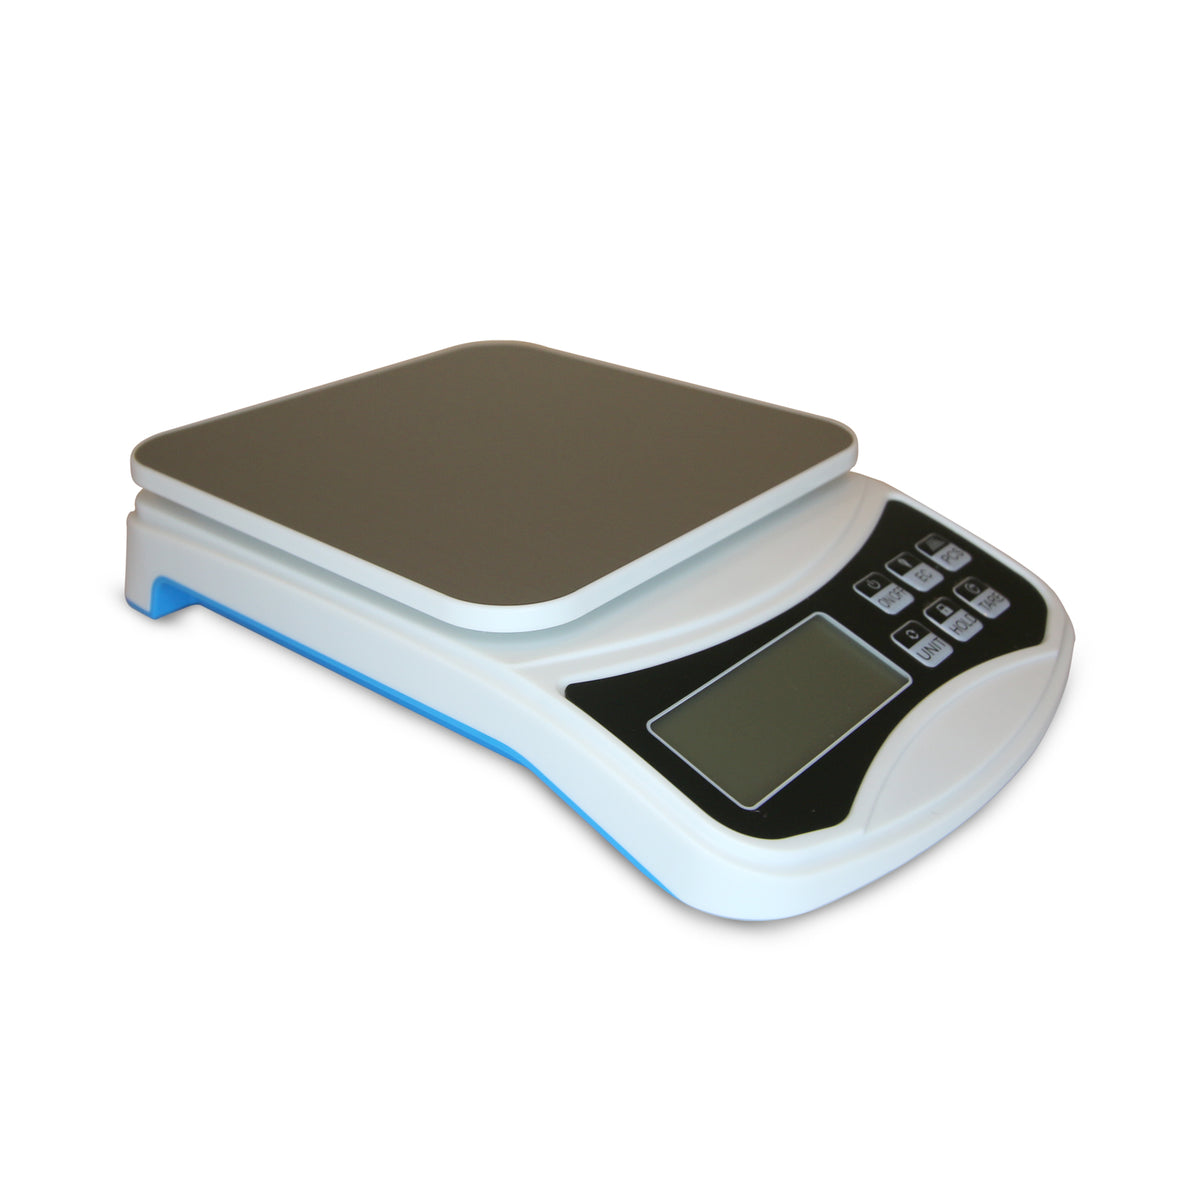
- A scale, mixing container, and spatula
- Two 160 mesh screens, one 40 mesh screen
- Flash dryer, heat gun, or conveyor dryer

| STEP 1 | Mix Your Puff Ink |
Standard colors just need a good stir, about a minute or two, until the ink is smooth. Softer ink flows better through the screen and prints cleaner.
For the puff color, add 10 to 20% Rapid Cure Puff Additive by weight to your ink and mix thoroughly. Mylo's example: 53 grams of ink called for 7 grams of additive, right in that range. If you want a bigger, more exaggerated puff, you can push closer to 20% or slightly above, just know it'll need a longer cure and more careful temp control.
One thing to keep in mind: Rapid Cure Puff Additive will lighten the color of your ink significantly once it's mixed in. That's normal, not a sign you did something wrong.
| STEP 2 | Choose the Right Mesh |
Mesh count depends on the job:
- 160 mesh for your standard colors (Mylo used this for the blue and black) to lay down a clean, opaque print without heavy or rough ink deposits.
- 40 mesh or higher for your puff ink. More open mesh drops more ink onto the garment, which gives you a stronger puff effect. Our official recommendation is 110 mesh or coarser, but if you're chasing a bigger, rounder puff, dropping down to 40 mesh will get you there.
| STEP 3 | Print in the Right Order |
Normally you'd print lightest to darkest, but puff ink is the exception. It always goes last. Mylo's order for this design: blue first, then black, then the red puff ink on top.
| STEP 4 | Cure It Correctly |
Rapid Cure Puff Additive gels around 220°F and fully cures at 270°F. That low cure temp is a big part of why we like it, it's beginner friendly, won't scorch light garments as easily, and speeds up your overall process since you're not waiting on a high-heat cure.
Here's the part that determines whether your puff pops or falls flat:
- Undercure it and the ink won't puff up at all.
- Overcure it and the puff can collapse or deflate completely.
In Mylo's tests using a flash dryer running around 400°F and raised 5 to 6 inches above the platen:
- 25 to 30 seconds: the sweet spot. Clean puff, no scorching, no shrinkage.
- 30 to 38 seconds: still puffed, but the surface starts looking shiny and slightly scorched. You're on the edge.
- 38 to 45 seconds: fully deflated. Flat, baked texture, and it's not coming back.
Every setup runs a little different, so treat those numbers as a starting point. Run test prints on scrap shirts until you've dialed in your own dryer's distance, time, and temp. Once you know your equipment, you won't need to test every time.
Want maximum puff? A few adjustments will get you there:
|
| RECAP | Quick Recap |
- Stir your standard inks for a minute or two until smooth.
- Mix 10 to 20% Rapid Cure Puff Additive by weight into your puff color.
- Use 160 mesh for standard colors, 40 - 110 mesh for your puff layer.
- Print puff ink last, regardless of color order.
- Cure at 270°F. Test your specific dryer setup for the right time and distance before running full production.
Huge thanks to Mylo Prints for walking through this process with us. If you're new to puff printing, don't let the learning curve scare you off, a few test shirts and a little patience is all it takes to get consistent, professional results.
Watch Mylo in action below: