Screen Printing 101 | Print Quality | Retail & Licensed Apparel
If you've ever had a client ask for "retail ready" prints and weren't 100% sure what they meant, you're not alone. It's one of those terms that gets thrown around constantly in the industry but rarely gets explained in full. Most people assume it's just about print quality. It's not. Retail ready is the complete package, from the print itself to the tag on the inside of the collar to the way the shirt is folded and bagged. In this post we're breaking it all down so you know exactly what you're committing to when you take on retail or licensed work.
| THE BASICS | What Does Retail Ready Actually Mean? |
Retail ready refers to a finished garment that meets the standards of major retailers, licensed brands, and high-end apparel companies. Think the shirts you see at Urban Outfitters, a licensed sports brand, or a boutique streetwear label. The print is clean, the tag is branded, the garment is folded and bagged, and every single piece in a run of 500 looks identical to the first.
It's not just about looking good fresh off the press. Retail ready means the garment can survive real-world use, repeated washing, stretching, and wearing. Additionally, it means it's legally compliant, professionally finished, and shelf-ready the moment it arrives at the retailer.
There are five layers to retail ready. Miss any one of them and you're not there yet:
- Layer 1: Print Quality
- Layer 2: Neck Labels
- Layer 3: FTC Legal Requirements
- Layer 4: Hang Tags
- Layer 5: Folding, Poly Bagging & Size Stickers
| LAYER 1 | Print Quality |
This is the foundation. Everything else sits on top of it.
Retail ready print quality can be achieved through multiple methods. Screen printing, DTF (Direct to Film), and plastisol heat transfers are all widely used and accepted in the retail and licensed apparel space. Many screen printing shops use DTF and heat transfers alongside their press. For short runs, complex multi-color artwork, or jobs where screen setup cost doesn't make sense on small quantities. The method matters less than the result. A retail ready print needs to hit five marks:
Ink Opacity
On dark garments, your underbase or base layer needs to be fully opaque. A thin or semi-transparent white is one of the fastest ways to fail a retail quality check. The white needs to be bright and the colors on top need to be true to spec.
Soft Hand Feel
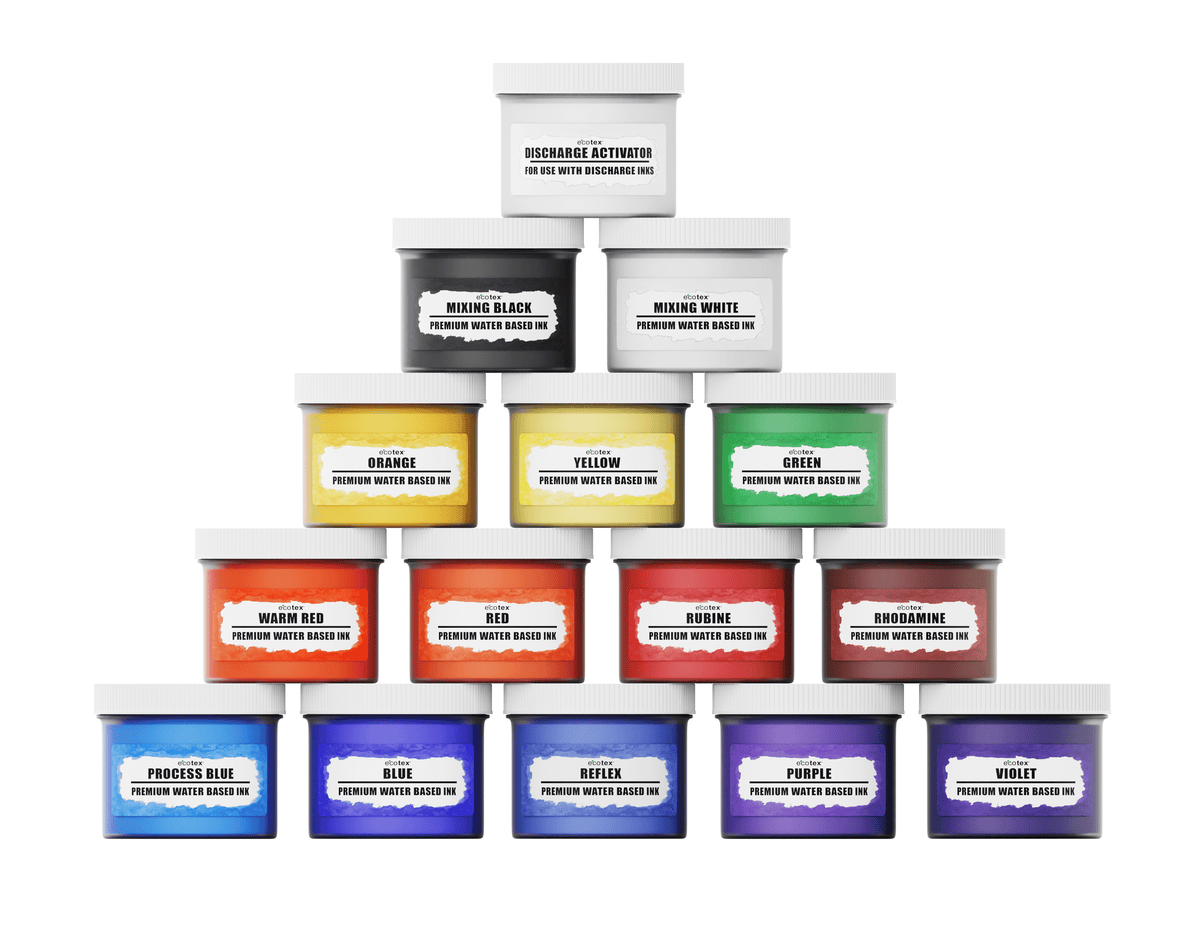
A thick, rubbery print that sits on top of the fabric won't cut it for retail. The ink needs to feel like part of the shirt. For screen printing, discharge and water-based inks are preferred for retail work because the ink absorbs into the fabric rather than sitting on top of it. For DTF and plastisol heat transfers, film quality and proper curing make the difference between a stiff transfer and one that moves naturally with the garment.
Edge Definition
Clean, crisp edges on every element of the design — regardless of method. Blurry edges, ink bleed, or halos are immediate red flags for any retail buyer reviewing samples.
Wash Durability
Most licensed and retail clients will wash test your samples before approving a run. For screen printing this comes down to proper curing. For DTF and heat transfers it comes down to the quality of the film, adhesive, and application process.
Consistency Across the Run
Retail buyers aren't evaluating one shirt. They're evaluating whether every shirt in a production run looks the same. Whether you're screen printing 500 shirts or pressing 500 DTF transfers, the output needs to be consistent from the first piece to the last.
| 💡 Pro Tip: Use a laser temp gun to verify actual ink temperature at the exit of your dryer — not just the thermostat reading. A dryer that reads 320°F doesn't mean your ink is hitting 320°F. Run a stretch test on every new job setup to confirm full cure before running production. |
| LAYER 2 | Neck Labels |
This is where most shops stop short of true retail ready. Removing the manufacturer's tag and replacing it with a custom branded neck label is one of the most visible signals that a garment is retail quality. It also allows you to private label apparel for clients building their own brand.
Screen printed, heat transfer, and DTF neck labels are all accepted methods. Shops with a full screen printing setup often use heat transfers or DTF for neck labels because of the flexibility on design detail and the ability to work across different fabric types including fleece. Here's how each method works:
Screen Printed Neck Labels
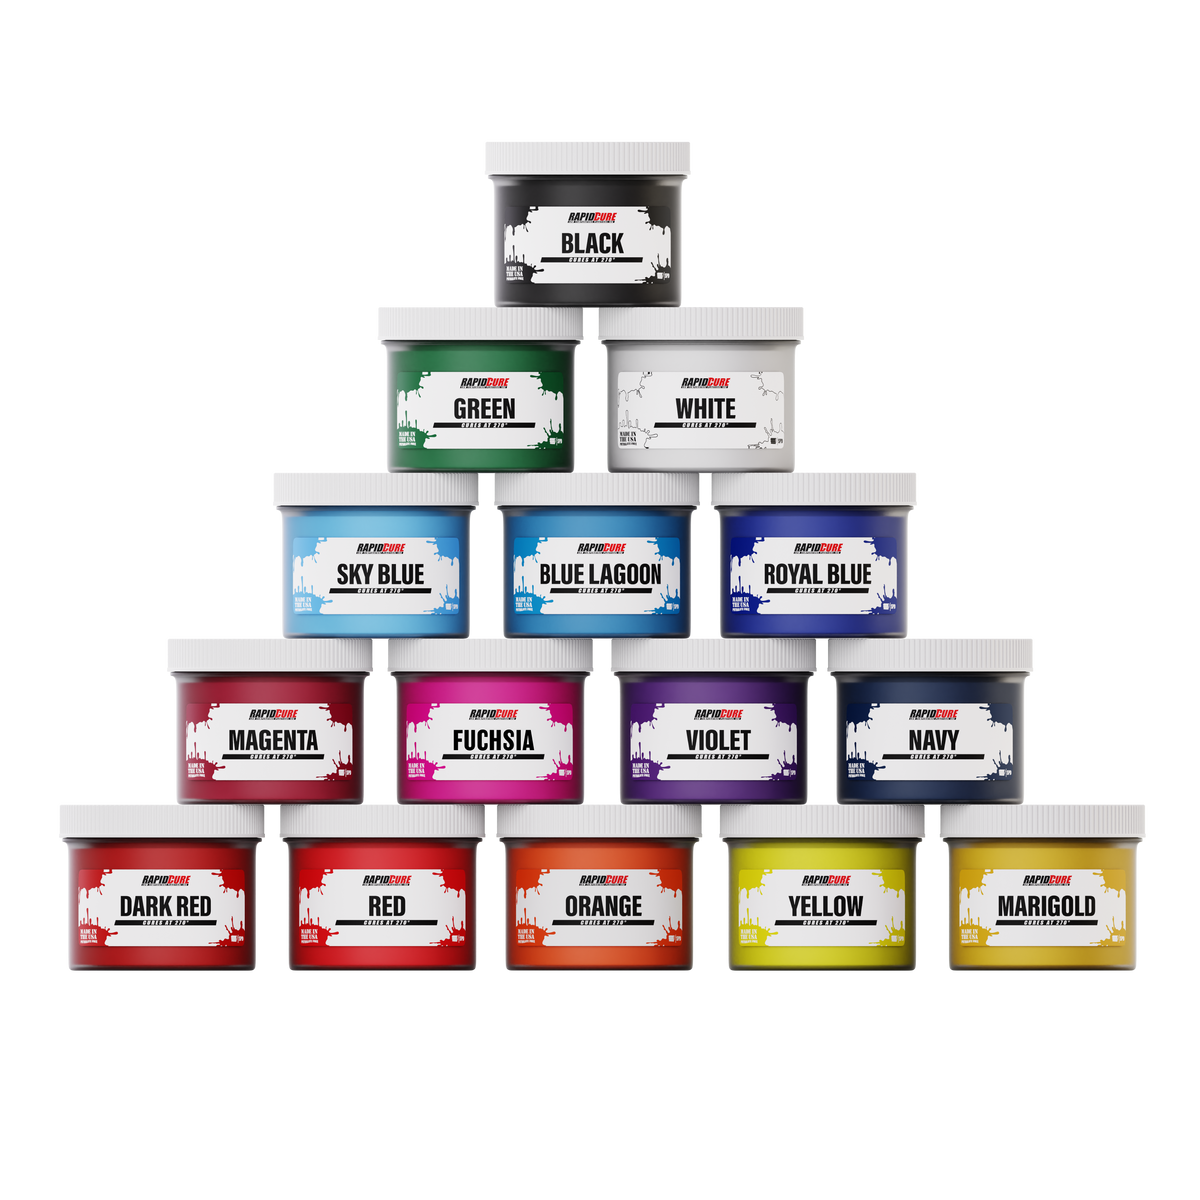
The most common method for screen printers. The manufacturer's tag is removed and your branded label is screen printed directly onto the inside of the collar. Use plastisol ink at 230+ mesh with a soft hand additive. Keep your design within roughly 3.5" x 3.5" and make sure contrast is strong enough to read clearly.
| ⚠️ Watch Out: Never use water-based ink for screen printed neck labels. Water-based ink will bleed through the fabric and show on the outside of the shirt. Plastisol only, it sits on top of the fabric and stays put. |
Heat Transfer Neck Labels
A popular option across all types of shops. Pre-printed transfers are pressed individually onto the inside of the collar. Better for more detailed logos and works well on fleece garments like hoodies and crewnecks where screen printing is more difficult. Transfers can be ordered in bulk and applied on demand. This is useful for shops printing multiple brands or managing variable sizing.
DTF Neck Labels
Increasingly popular for the same reasons as heat transfers. Full color capability, works on any fabric type, no minimum quantity constraints. A natural choice for shops already running DTF equipment.
Woven Labels
The most premium option. A fabric label with your design woven into it, sewn into the neck or hem. Best for higher-end brands where the label itself is part of the brand identity. Higher cost but significantly elevates the perceived value of the finished garment.
| LAYER 3 | FTC Legal Requirements |
This is the part many printers don't know about and skipping it is a legal violation, not just a quality issue.
The Federal Trade Commission requires that all apparel sold in the United States include the following information on a permanently attached label:
- Fiber content — listed by weight in descending order (e.g., "100% Cotton" or "60% Cotton, 40% Polyester")
- Country of origin — where the garment was manufactured (e.g., "Made in Honduras")
- Brand identity — your brand name or the name of the business responsible for the product
- Care instructions — washing, drying, ironing, bleaching as applicable
- Size — must be clearly legible
| ⚠️ Important: If you remove the manufacturer's original tag, you are now legally responsible for including all of this information on your custom neck label — regardless of which application method you used. Hang tags cannot replace this permanently attached label. The country of origin must be placed at the center back neck, midway between the shoulder seams. |
If you're taking on retail or licensed work this is non-negotiable. Build all required FTC information into your neck label design from the start.
| LAYER 4 | Hang Tags |
Hang tags are what the customer sees first when browsing a retail rack. They communicate your brand, the price point, the size, and any other information the retailer or brand wants front and center.
A retail hang tag is typically printed on card stock or heavier paper and attached to the garment with a plastic binder, safety pin, or string. They can range from a simple logo and size, to more detailed with a brand story, care callouts, social media handles, or QR codes.
| 💡 Remember: Hang tags can include additional care or sizing information but they cannot replace the permanently attached FTC-required label. They are marketing, not compliance. Make sure what's legally required is on the garment itself before you attach the hang tag. |
| LAYER 5 | Folding, Poly Bagging & Size Stickers |
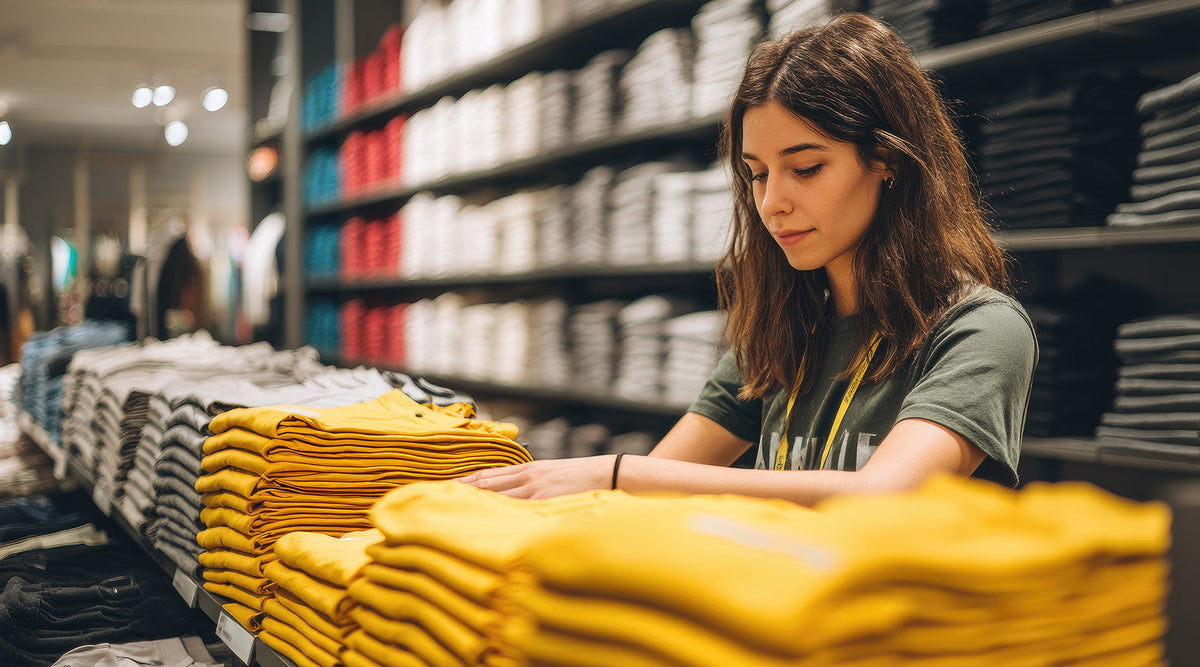
The final step and the one that most clearly separates a retail ready garment from one that just looks good on a hanger. Every garment should be neatly folded, placed in a clear poly bag, and marked with a size sticker on the outside of the bag.
This matters for two reasons. For retailers, it makes inventory management significantly easier — they can sort by size at a glance without opening every bag. For customers, it creates an unboxing experience that signals quality before they even touch the shirt.
If you're delivering to a retail buyer this isn't optional. A garment that arrives unbagged, unfolded, or unlabeled signals that you don't fully understand the retail channel regardless of how good the print is.
| THE SETUP | How to Get There |
Getting to true retail ready quality across all five layers requires the right process and the right equipment. Here's what matters most:
Conveyor Dryer
Consistent, even curing across the entire garment is non-negotiable for retail work. Uneven heat means inconsistent cures, and inconsistent cures mean failed wash tests. Use a laser temp gun to verify actual ink temperature at the exit of your dryer, not just the thermostat reading. For heat transfers and DTF, follow the manufacturer's recommended application time and temperature and verify with a temp gun rather than relying on your press's readout.
Neck Label Setup
For screen printed neck labels you'll need a dedicated screen, a soft hand additive in your plastisol, and 230+ mesh. For heat transfer or DTF neck labels you'll need a consistent application process same temp, same pressure, same dwell time on every piece. Many shops use a small clamshell heat press dedicated to neck labels to keep their main production moving.
Finishing Station
Set up a dedicated area for folding, bagging, and stickering. If you're doing any volume of retail work this becomes its own workflow. Standardize your fold, your bag size, and your size sticker placement so every garment looks identical coming out of finishing.
| THE BOTTOM LINE | Retail Ready Is Worth Getting Right |
Retail ready printing is a significant step up from standard contract printing — and that's exactly why shops that can do it consistently command higher prices and better clients. The print quality gets you in the door. The neck label, hang tag, and finishing get you the repeat order.
Start with one layer at a time if you need to. Get your print quality dialed in first, then build out your neck label process, then add finishing. Each step adds value to what you're delivering and justifies a higher price point for your work.
Screen Print Direct | Screen Printing 101 Blog | screenprintdirect.com