Screen printing inkjet film alignment can be challenging. Incorrectly positioning your inkjet transparency film can cause headache when beginning the printing process. Master film alignment and make the printing process easier. Here are our favorite tips from our team of screen-printing pros.

#1 Set up your platen for success
Understanding how platens function in relation to the screen is critical. To begin, position the screen on the platen. Make a grid system on the platen so you always know where to place the screen.
Draw a vertical line down the center of the platen, followed by another about 4" to the left from the middle line. You'll be able to line up the center of the print as well as the left chest print this way. Check out this blog for more information on How to Draw Your Screen Printing Laten Center Line.
Vertical lines are essential for aligning the shirt with the print. Horizontal lines do the same thing, but they also help you line up the collar of the shirt correctly. While any type of line can be drawn, horizontal lines 1", 2", and 3" down from the front of the platen are recommended.
Drawing the lines directly onto the platen is a good idea. You won't have to redraw them every time you set up a job this way. Draw lines that are appropriate for your process.
#2 Find the optimal area
The design must be positioned a few inches away from the top and bottom of the screen for the print to seem sharp and clear. In this manner, the screen can come loose from the garment before you finish your print stroke when you pull or push the squeegee and ink over the design.
The useable print region on your screen is where you can place the best, even, solid ink deposit. The optimal spot on a 20" x 24" screen should be around five inches from the top and five inches from the bottom of your screen. The maximum size is 12" X 14", depending on your tools and equipment.
#3 Use Registration Marks
There should be registration stamps on each design you produce. Registration markings should be placed in the corners, along the center line, and at the top and bottom. By doing so, you may consistently align the screen printing film with the screen and registration template.

Example of registration marks on inkjet film, note they are placed on the top and bottom
#4 Use a tool to align screen
On a flat surface, place the registration template. Put the inkjet transparency film where you want it to be on the template. Once more, since the registration marks will align with the template's grid structure, this should be quite straightforward. If you don't have a template for registration, you can also use a triangle square ruler. See picture below. However we highly recommend a pre-registration template.
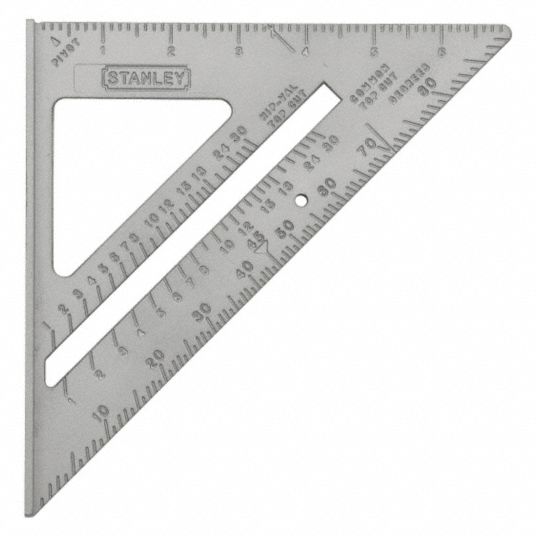
Example of a triangle square ruler
Screen should be placed over transparent film and template and the film to the screen with transparent tape. Remove the registration template once your screen printing film has become firmly attached to the screen.
Recommended Product for Alignment
We highly recommended a pre-registration template. Screen Print Direct’s pre-registration template has a right and left pocket on the template. See picture below to see the benefits for alignment using the template.

Screen Print Direct's Pre-Registration Template
Comment below with questions and any advice you may have for other printers :) We appreciate all feedback!
Cheers,
Screen Print Direct